Hardwood floors are beautiful, but they can be a challenge to maintain. Often involving harsh chemical treatments and coatings that you may not want inside of your home. Hardwood floors predate many of these chemical treatments and coatings, and there are natural ways of both keeping your hardwood floors clean, and refreshing their finish.
In this excerpt from the book Household Magic by Joan Wilen and Lydia Wilen the sisters explain how to clean hardwood floors naturally. Discussing some of their favorite techniques for refreshing hardwood finishes, removing stains, repairing scratches, and much more.
NOTE: If you have brand new wood floors, check with the manufacturer on cleaning.
◆ To revive your finished hardwood’s shine, mix equal parts of distilled white vinegar and vegetable oil, and put the mixture in a spray bottle. Work small sections of the floor at a time. Start by spritzing the mixture and rubbing it in with a clean cotton cloth. With another clean cotton cloth, buff that section until it’s shiny. Then start on the next section of floor. And so on and so on and so on.
FYI: Are You Protected?
Most newly installed floors have a polyurethane finish. You can tell simply by looking at the floor. If it looks glossy as if it has a layer of clear plastic on top, chances are it is a polyurethane finish. This finish is a shield, protecting the wood from scratches, water damage and other boo-boos.
◆ To remove any scuff marks, get out an old, clean toothbrush, apply some non-gel toothpaste and scrub off the scuff mark. Then wipe the area clean with a damp cloth or sponge.
◆ Depending on the size of the scuff mark, put a little petroleum jelly or baby oil on a cloth and work it into the floor to remove the mark. Once it’s gone, go over the area with dry paper towels, making sure there’s not a trace of the slippery jelly or oil.
◆ If a clump of grease dripped on the floor, cover it with one or two ice cubes. As soon as the grease hardens, carefully scrape it off with the dull side of a knife, an expired credit card or a spatula.
Brew Up Beautiful Floors
Boil one quart of water, then throw in two bags of black tea (such as Pekoe). Let it steep for about 20 minutes, then dampen a cloth or mop with the tea and wash your wood floor with it. The tea’s tannic acid should cut through grease and grime. Then buff the wood with a clean, soft cloth—or not. If your floor looks fine, forget the buffing (unless you want the exercise).
Cleaning a Waxed Hardwood Floor
Waxing a hardwood floor is not a popular idea, due to the amount of upkeep necessary. If you insist on it, wax should be applied in light, even coats. Stop when the floor has the sheen and protection level you desire.
◆ If you want the dirt to come off, but the wax to stay on your floor, use a sponge mop that’s been dipped in a mixture of 1 ⁄4 cup of distilled white vinegar and one gallon of water. Wring out the mop so that it’s damp (not sopping wet) before it touches the floor.
◆ Between waxings, put a piece of waxed paper—waxy side down, of course—over the mop head and give the floor the once over.
CAUTION: Never wax a polyurethane floor. It can actually dull the finish.
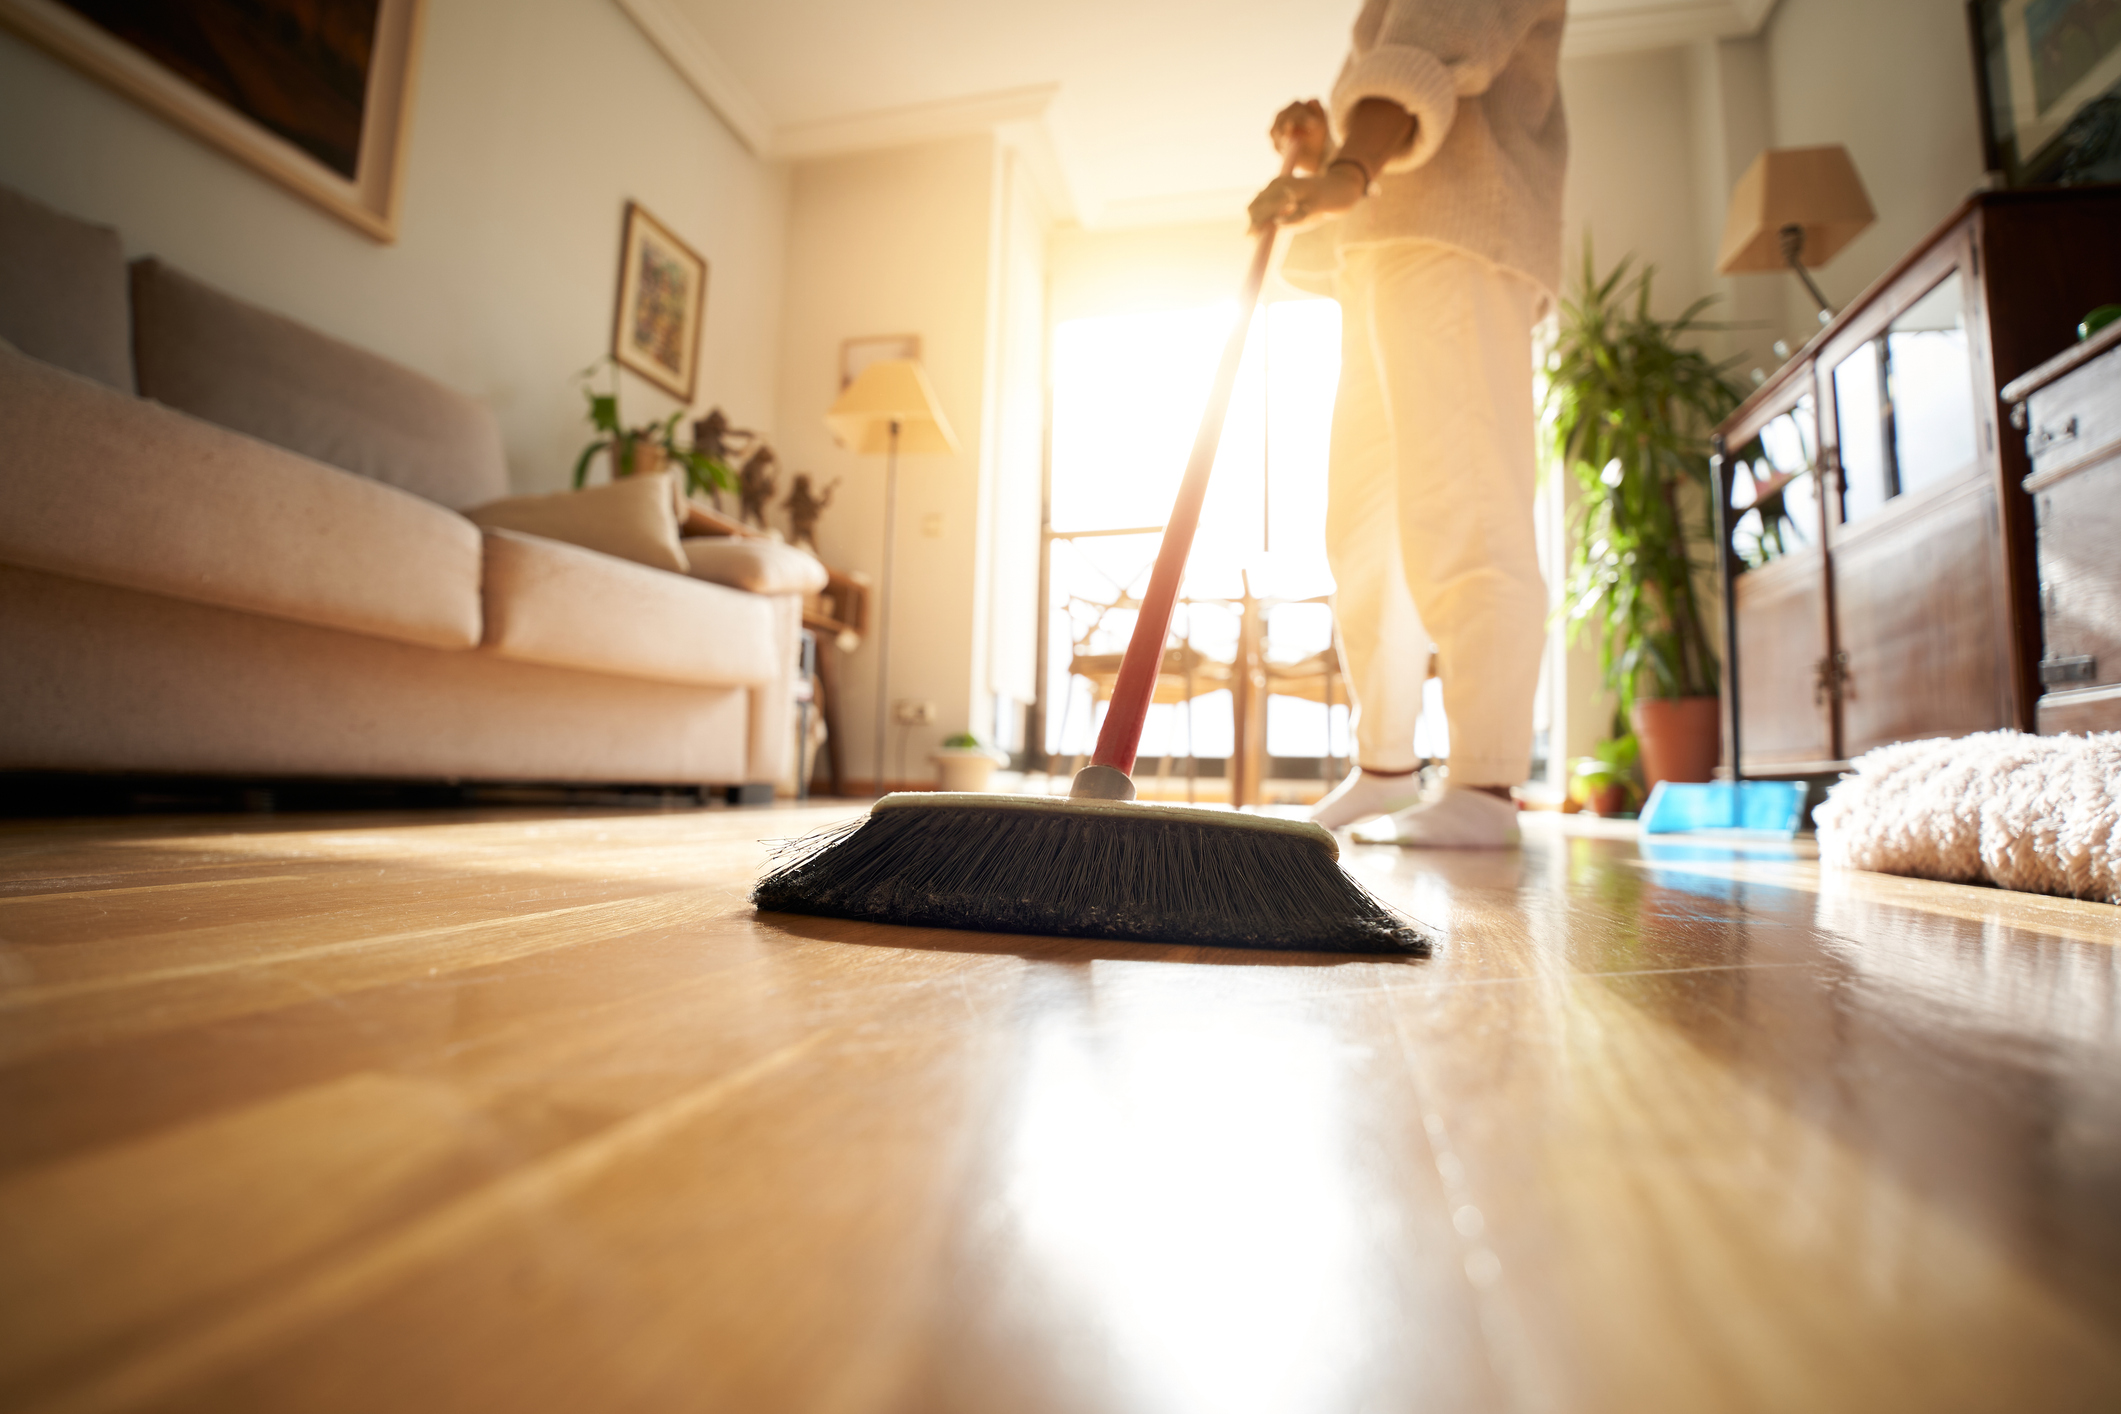
Sweeping a Hardwood Floor
◆ Try a Japanese cleaning method—sprinkle damp tea leaves on the floor. Don’t think of it as adding to the dirt…the tea helps to weigh down the dust, making it easier to sweep up.
◆ If there’s a little mound of dirt that can’t be swept into the dustpan, wet a paper towel and blot it all up.
Make Your Own Dustpan
If you don’t have a dustpan and don’t want to buy one, cut a paper or plastic plate in half. POOF! A dustpan
Covering Up a Hardwood Scratch
Hardware stores have wax crayons that match most shades of hardwood. Or look in that old box of crayons for a color that matches your floor. This works best for very long and/or deep scratches—take the paper off the crayon, then put it in a small glass container and melt it in your microwave. Start by setting it for 10 seconds. (You may end up needing to give it another 10 seconds to melt, depending on the power of your microwave.)
Carefully pour the melted wax into the scratch. Before it completely hardens, use a piece of plastic—such as an expired credit card or a section of a yogurt container lid—and glide it over the treated area, removing the extra wax, making the filled-in scratch level with the rest of the floor. (Take care not to scratch the floor again with the plastic.)
Microwave Alternative
If you don’t want to zap a crayon in your microwave, grate the crayon carefully with a knife or your cheese grater (wash it thoroughly afterward). Then line a section of a muffin tin with aluminum foil, and put the grated crayon in it. Put the muffin tin in a preheated 350°F oven. It should take about two or three minutes for the crayon to melt. And the foil prevents a messy cleanup.
If you don’t want to work with the melted crayon, grate a piece of crayon and press the little pieces into the scratch. Next, use a blow dryer set on low to help harden the wax, then level it off with a piece of plastic.
When the melted crayon cools and completely hardens, buff the area with a soft, clean cloth. (If you’re into waxing the floor, this would be the time to do it.)
Put a Sock on It!
◆ Temporary solution: If you are rearranging furniture or moving furniture to clean, put old socks—the heavier the better—on the furniture legs. Or rip off pieces from a cardboard box, or cut off the bottom half from a milk or juice carton. Once the carton is washed and dried, it makes a great coaster for furniture legs. You can also use plastic containers that are completely flat on the bottom.
Socks, cartons and containers will protect the floor from scratches, and they make the furniture a lot easier to move around.
◆ Permanent solution: Stick clear adhesive tape or strips of weather-stripping on the bottom of furniture legs so that the wood floor will not be scratched when the furniture is moved
You can also glue pieces of felt or carpet—pile side down—to the bottom of furniture legs. Self-stick bunion pads and moleskin patches will also serve the same purpose.
For additional food tips and other advice for your home, purchase Household Magic from Bottomlineinc.com.