Like any other part of the bathroom, your shower tiles need regular cleaning for your wellness, safety, and health—and like any other part, there’s a way to do it both well and better.
As a hub for moisture and buildup, shower tiles require particular care. To understand the most effective ways to clean them, we turned to Caroline Blazovsky, Healthy Home Expert and CEO of My Healthy Home. Here’s what you should know.
Why Clean Shower Tiles Regularly?
If you have a tiled shower floor, a regular cleaning routine is not just essential for general maintenance and odor control—it’s also a must for your health and safety. Left unchecked, you run the risk of mold, mildew, and stubborn stains and residue, creating slip hazards and potentially triggering respiratory issues or allergic reactions.
“Showers are a water and humidity source that rarely dry completely, leaving puddles in corners, on ledges, and in grout lines,” Blazovsky explains. “This transforms showers into a haven for mold and bacteria that thrive on the moisture.”
Preventing slip hazards in the bathroom becomes more pertinent with age, too. According to a study by the Centers for Disease Control and Prevention (CDC), 81.1% of bathroom injuries are caused by falls—and older adults are at especially high risk.
Imagine: body oils blend with soap scum, shampoo, minerals, and limescale and accumulate on shower tiles. This creates a film that makes an already slippery surface even slipperier. “When wet, this film can drastically reduce traction, turning tiles and fiberglass showers into a severe slip and fall hazard,” says Blazovsky.
What You’ll Need: Tools and Cleaners
Cleaning your shower tiles requires a few simple tools and cleaners. “I’m particular about what we clean our showers and tubs with because it has direct effects on our skin and lungs, which are vulnerable when we get in a hot shower or tub,” says Blazovsky.
Blazovsky recommends skipping the standard cleaners. “Synthetic chemical residues from cleaners get activated from the hot shower, and rising steam subjects you to chemicals and long-term systemic absorption of toxins.” Instead, she uses cleaners with zero toxic residue to clean shower tiles.
When cleaning your shower tiles, be sure to have on hand:
| Supply | Best for | Use caution with |
| Hydrogen peroxide
|
Ceramic, porcelain, grout lines, mold and mildew treatment | Always dilute and test first for natural dark stones; only use on areas that are resistant to bleaching or oxidation; avoid prolonged contact |
| Sodium percarbonate | Grout, tough stains, ceramic, and porcelain tile | Some natural stone surfaces; test first to avoid discoloration |
| Scrub brush | Grout lines, textured ceramic, and porcelain tile | Natural stone and polished surfaces if bristles are too stiff or will scratch |
| Medium toothbrush | Detailed grout cleaning, corners, track lines | Delicate or polished stone if excessive pressure is used |
| White vinegar | Hard-water stains, showerheads, soap scum on ceramic and porcelain tile | Natural stone, including marble, granite, and travertine |
| Microfiber dishcloth | Natural stone, everyday wipe-downs, drying surfaces | None |
| Microfiber towel | Drying all tile types, preventing water spots | None |
| Spray bottle | Applying cleaning solutions evenly | None |
Note that the right cleaner depends on your tile type—more on that below.
Step-by-Step Guide: How to Clean Shower Tiles
With the right supplies, cleaning your shower tiles is a simple, straightforward process. Blazovsky walked us through her steps, recommending this deep clean every 2-3 weeks, depending on your shower usage:
Step 1: Pre-Treat and Loosen Buildup
Begin by pre-treating your shower tiles with a spray bottle filled with 3% hydrogen peroxide. “Hydrogen peroxide is a simple compound consisting of two hydrogen atoms and two oxygen atoms,” explains Blazovsky. “When it touches organic material, it releases a free oxygen radical (the bubbling you see) and rips apart the cellular walls of bacteria and destroys fungal spores, leaving behind a zero-toxic residue of water and oxygen.”
Next, spray hydrogen peroxide at full strength on grout, tile, and track lines, and let it sit. “I first let it sit on the surface to make sure contact time with bacteria or mold is long enough,” she adds.
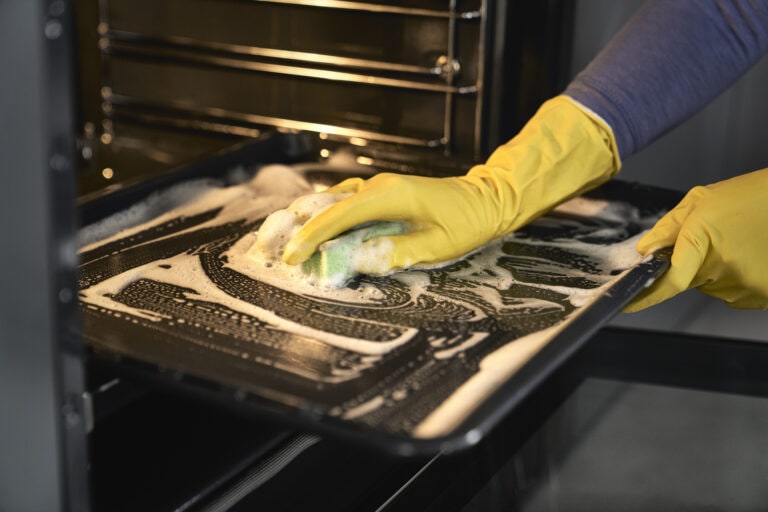
Wait about 5 minutes before returning to remove mold and mildew from the shower tiles using dish soap and a sponge.
Step 2: Scrub Tiles and Grout Effectively
Following the pre-treatment, Blazovsky applies sodium percarbonate to the tiles and grout lines, then scrubs them with brushes such as the OXO Good Grips Grout Brush or the Lowe’s Essentials Poly Fiber Tile and Grout Brush.
“The sodium percarbonate gives you a gritty grout cleaner,” says Blazovsky. “It’s a dry crystal powder made with sodium carbonate and hydrogen peroxide. You can use it dissolved in water or as a scrubbing agent for grout and hard-to-clean surfaces.” This helps break down oils and remove grout stains without scratching surfaces, making it an excellent cleaner for shower tiles.
Step 3: Rinse and Dry Thoroughly
After scrubbing, rinse your tiles thoroughly. Blazovsky warns to avoid spraying the tiles with your showerhead as this brings too much water to the walls and can promote mold growth.
Instead, use a damp sponge or wipe to remove the cleaning residue and move excess water toward the drain.
She recommends using vinegar for your showerheads. “Soak showerheads in white distilled vinegar for a few hours. All mineral deposits will dissolve and break away.” Doing so also keeps harmful bacteria from building up and can prevent Legionella disease.
Finally, dry your shower tiles with a microfiber towel, as it won’t leave lint, streaks, or water spots.
Special Considerations
Certain areas of your shower tiles need special consideration:
Cleaning Shower Grout Lines
The shower grout lines between shower tiles are porous and can harbor bacteria, mold, and mildew. Blazovsky recommends using cleaning agents, such as sodium percarbonate, either dissolved in water or applied directly as a scrubbing agent.
“I love the angled, dense brush for grout lines,” says Blazovsky. However, if you’re working with a tight budget, a medium-head toothbrush works well for grout lines too.
How to Clean Natural Stone Shower Tiles
Stone tiles can become damaged with the wrong cleaner. Avoid any harsh cleaners and use low-acid options, such as hydrogen peroxide (note: dilute and test first for darker stones to avoid lightening and discoloration), and skip abrasive brushes, which can scratch the surface. It’s best to clean your stone tiles with a soft, microfiber cloth.
If you aren’t sure whether a cleaning material is compatible with your tiles, spot-clean a tile in a hidden part of your shower, or test-clean any sample stone tiles you may have around the house.
How to Remove Soap Scum, Mold, and Hard Water Stains in Shower
In addition to hydrogen peroxide, you can use vinegar to deep-clean—you can’t beat it as a homemade shower tile cleaner. It’s ideal for removing stubborn stains, hard-water stains, mold, and mildew on porcelain and ceramic tiles.
Simply mix equal parts of vinegar and water, then apply it directly to the bathroom tiles and leave the mixture for about 10 minutes.
It’s especially helpful for removing soap scum from tiles. “However, it must never be used on natural stone like marble, granite or travertine, as the acid will permanently etch and dull the stone,” warns Blazovsky.
Keep in mind that persistent mold may indicate leaks or compromised grout, indicating the need for professional help. “Showers should remain mold-free with cleaning and no areas of compromise,” she says. Mold on the surface is usually a sign that the shower’s integrity has become compromised, and mold is forming behind it from leaks.”
Preventing Future Buildup
After thoroughly cleaning your shower tiles, Blazovsky recommends spraying them weekly with hydrogen peroxide to protect them against mold and stains. “Leaving it will help deter mold and bacteria from forming in your skin cells, soap scum, and oils.”
She also advises keeping any drains clear and free of clogs, so water doesn’t accumulate between showers. “Always keep a lookout for recurrent mold in the lip of the shower pans, under the benches, or on the base of knee walls of the shower,” says Blazovsky.
A good rule of thumb when cleaning your shower tiles is to avoid highly acidic cleaners. They can erode any sealants and protective coatings. And to prevent hard water stains on your shower tiles, keep a squeegee on hand to wipe them down after showering.