Everyone loves taking a warm shower, but that enjoyment can quickly turn into frustration when a leak appears. A leaky shower head can be more than just annoying—it also can cause real problems. “If it’s your hot side dripping, you’re literally paying to heat water and letting it go straight down the drain,” says Roger Wakefield, a master accredited plumber and host of the Roger Wakefield Plumbing Education YouTube channel.
We spoke with Wakefield to get a step-by-step understanding of what causes a leaking shower head, how to fix it and how to prevent it from happening again.
How to Tell If Your Shower Head Is Really Leaking
Some homeowners confuse a shower head leak with normal drainage. You might experience water dripping from your shower head immediately after you turn it off. If it goes away after a few seconds, it isn’t a leak. Water that is left in the shower head or the shower arm may just be draining.
But if your shower head is dripping when it’s off or leaking at connections, you likely have a bigger issue on your hands.
Common Causes of a Leaking Shower Head
Shower heads can start leaking for a variety of reasons…
Faulty shower valve cartridge (drips when water is off)
Your first instinct might be to check the shower head itself, but Wakefield says that most shower head leaks are due to the shower valve. If your shower head drips when it’s off, the cause is the shower valve—the internal part controlled by your shower handle that regulates the flow of water from the plumbing lines to the shower head. When you turn your shower on, the handle opens this valve and lets water flow up the shower arm and out of the head.
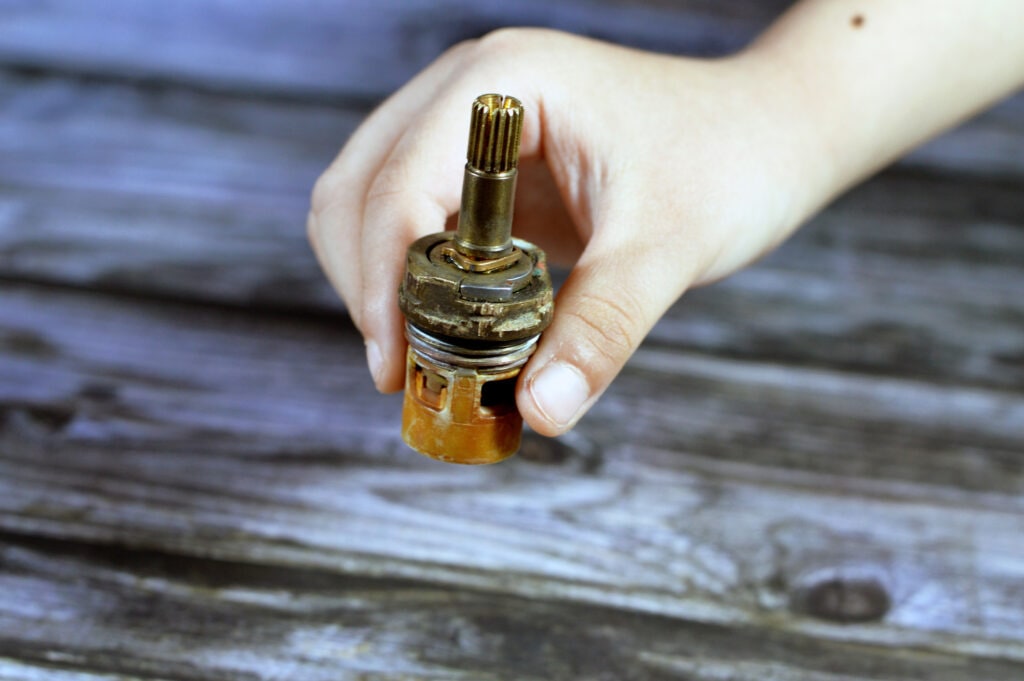
“The shower head itself does not have any way of stopping water,” Wakefield explains. So when this part fails, even slightly, you’ll notice water continuously dripping from the shower head when the shower is off.
Worn-out washers or O-rings
Leaks can also occur in the shower head area, especially if it’s old. In many shower head designs, there are small O-rings and washers that seal connected components. Over time, these can naturally degrade due to heat and harsh compounds in the water, causing leaks to form.
Mineral buildup and clogged nozzles
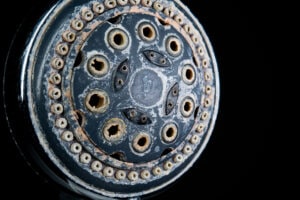
You might notice water spraying in a fine mist out of the sides of your shower head. This most likely is due to mineral buildup. The calcium, magnesium and limescale in hard water can coat the inside of the shower head and clog the tiny nozzles. As more nozzles become clogged, pressure increases throughout the shower head, straining O-rings, faceplate seams and threaded joints. If you have low water pressure even after fixing your shower head with other methods, clogged nozzles might be to blame.
Loose or damaged connections
The threads that connect the shower handle to the shower hose could be damaged…or the Teflon tape on the threads that connect the shower head to the wall spout could be worn. If this is the case, you might notice water dripping or spraying out of the connections.
What You’ll Need to Fix a Leaking Shower Head
Most homeowners can fix shower head leaks without the help of a plumber. All they need is a little DIY ability and the right tools. Wakefield advises homeowners to know the type of nut on the back of their shower head so they can be ready with the right wrenches for the job.
For a leak coming directly from the shower head, you’ll need a pair of channel locks, a crescent wrench and Teflon tape.
If a shower valve cartridge replacement is necessary, you’ll want to get a specialized cartridge puller tool.
“I’ve seen plumbers go out to the job without that tool. You can end up fighting a cartridge for an hour or two trying to get it out, whereas the right tool is going to make it where you can get it out in five minutes,” Wakefield says. Cartridge pullers are available online and at big-box stores.
If the leak occurs only when your shower is running, you can isolate the problem to the shower head. Luckily, fixing a shower head leak only requires a few steps…
- Turn off the water supply. It’s good practice to shut off the water supply to your home before you do any plumbing work, even if it’s just to fix the shower head. If you’re replacing the valve, this step is
- Remove the shower head. Using channel locks, grip the shower arm to keep it from moving. Put a cloth between the tool’s teeth and the shower arm to prevent damage. Locate the nut on the bottom of your shower head. Using your other hand and a crescent wrench, rotate counterclockwise to remove and loosen the shower head.
- Replace shower head washer and O-ring. Remove the washer and/or O ring that sits inside the shower head’s neck. Replace them both with new pieces.
- Clean mineral buildup from the shower head. Clean all calcium buildup and limescale, even if your leak isn’t caused by a blocked nozzle. You can do this by soaking the shower head in vinegar. This can prevent problems from returning.
- Add plumber’s tape and reassemble. Use plumber’s tape, also known as thread tape, for the shower head. Wrap the tape around the threads of the shower arm three to four times. Start on the second, outermost thread of the shower arm and wrap the rest of the threads in a clockwise motion. Slightly overlap each pass of tape. Screw the shower head back on, but as Wakefield recommends, “try not to overtighten it.”
- Test for leaks. Run your shower for five minutes, checking for leaks at all connection points.
When the Leak Isn’t in the Shower Head: Fixing Valve or Cartridge Issues
If the valve is the source of your shower head leak, the repair gets more complicated. Fortunately, builder-grade cartridges usually are guaranteed for life. “You literally can just take a picture and reach out to the manufacturer. They will send you a new cartridge for it,” Wakefield says. Once you know the brand, you can often find step-by-step videos on YouTube showing how to replace that particular part.
If you’re doing the repair yourself, turn off your home’s water (either at the valve box or at the meter). If you don’t, pressurized water will come shooting out of the water lines as soon as you remove the valve, possibly flooding your bathroom.
Preventing Future Shower Head Leaks
To prevent future shower head leaks, Wakefield recommends checking your home’s water quality. There are often chemicals in the water that can corrode the valve, eventually leading to leaks over the years. In the field, he has seen water with four times as much chlorine as a swimming pool. Since most faucet bodies are brass, chlorine can cause dezincification, pitting and gradual weakening of the metal over years. “If you really want to maintain your plumbing system properly, look at a whole-house water-filtration system,” he says. People can see what all is in their water at EWG.org/tapwater .
When to Call a Professional
Most people can repair a basic shower head leak with a few tools and step-by-step guidance. When the leak is isolated to the shower head’s O-rings and threads, the repair is very straightforward.
When the valve is the cause of the leak, many homeowners can do the repair themselves, Wakefield says. But the little details about each valve’s design can be very confusing. If you are in doubt about your abilities, it’s best to hire a professional. This ensures that your leak is fixed correctly and that nothing becomes damaged in the process.
Reminder: Whether you take the professional or DIY route, fixing your shower head leak is a priority that shouldn’t be ignored.