Cleaning your oven is about more than just getting your home ready for guests or part of your annual spring cleaning—it is for your safety as well. Lingering grease, dirt and food particles left in your oven can put your home at risk, and according to the National Fire Protection Association, cooking is one of the leading causes of house fires.
“Besides being a fire hazard, an unclean oven can trigger asthma attacks, inflammation, headaches, dizziness, nausea, and eye and throat irritation,” says Caroline Blazovsky, CEO and founder of My Healthy Home.
Another alarming perspective from Blazovsky—“A dirty oven can affect air quality. Cooking can release particulate matter and toxic gases when heated and dirty,” she explains. “Leftover food debris, grease and carbonized spills can burn in a hot oven, undergoing incomplete combustion when the oven is on, emitting harmful pollutants into the air that linger long after the oven has been turned off.”
Neglecting to clean your oven also can affect its performance and food quality. A dirty oven can disrupt the cooking process, leading to slower cooking times and uneven heating…and the fumes released by stuck grease and grime can alter the taste of food.
Bottom Line Personal asked Blazovsky for the safest and most effective ways to clean your oven…
How Often Should You Clean Your Oven?
“It is a good idea to give your oven a thorough scrubbing at least every three to four months,” Blazovsky recommends. “And frequent cleanings in between can prevent buildup that can burn improperly and cause indoor air and health issues.”
She also recommends regularly wiping the inside of your oven with a warm damp rag or sponge after each use, once the oven has cooled. Tip: Place a little salt on spills to make them easier to wipe up. Salt can be used as an abrasive and a hygroscopic (a moisture magnet), and it blocks combustion. You can use it on wet or dry spills.
Important: If you’ve noticed your oven smoking while preheating…your food is over- or undercooked…and/or you see crusted-over grease and other debris on the oven floor…it’s time for a deep cleaning.
What You’ll Need: Supplies and Tools
Which cleaning products you use depends on whether you have a conventional or a self-cleaning oven. In either case, go online or check your owner’s manual for specific manufacturer guidelines before you start cleaning.
The following supplies should be on hand…
- Baking soda
- White vinegar
- Dish soap
- Abrasive cleanser, such as Bar Keepers Friend or Bon Ami
- Paper towels
- Microfiber dishcloth
- Sponge
- Rubber gloves
- Rubber spatula
- Spray bottle
Step-by-Step: How to Clean Your Oven Manually
“If your oven is not self-cleaning, you can use natural oven-cleaning methods that don’t have harmful chemicals,” says Blazovsky. Here’s how to go about it…
1. Prepare the oven
Remove the oven racks so they can be cleaned separately. Place a towel on the kitchen floor to catch any residue that you sweep out of the oven. Wipe up any spills in the oven with a damp rag or paper towel to capture food particles. Then vacuum up any remaining soot. Reminder: Open windows and doors so the kitchen is ventilated.
2. Make and apply a cleaning paste
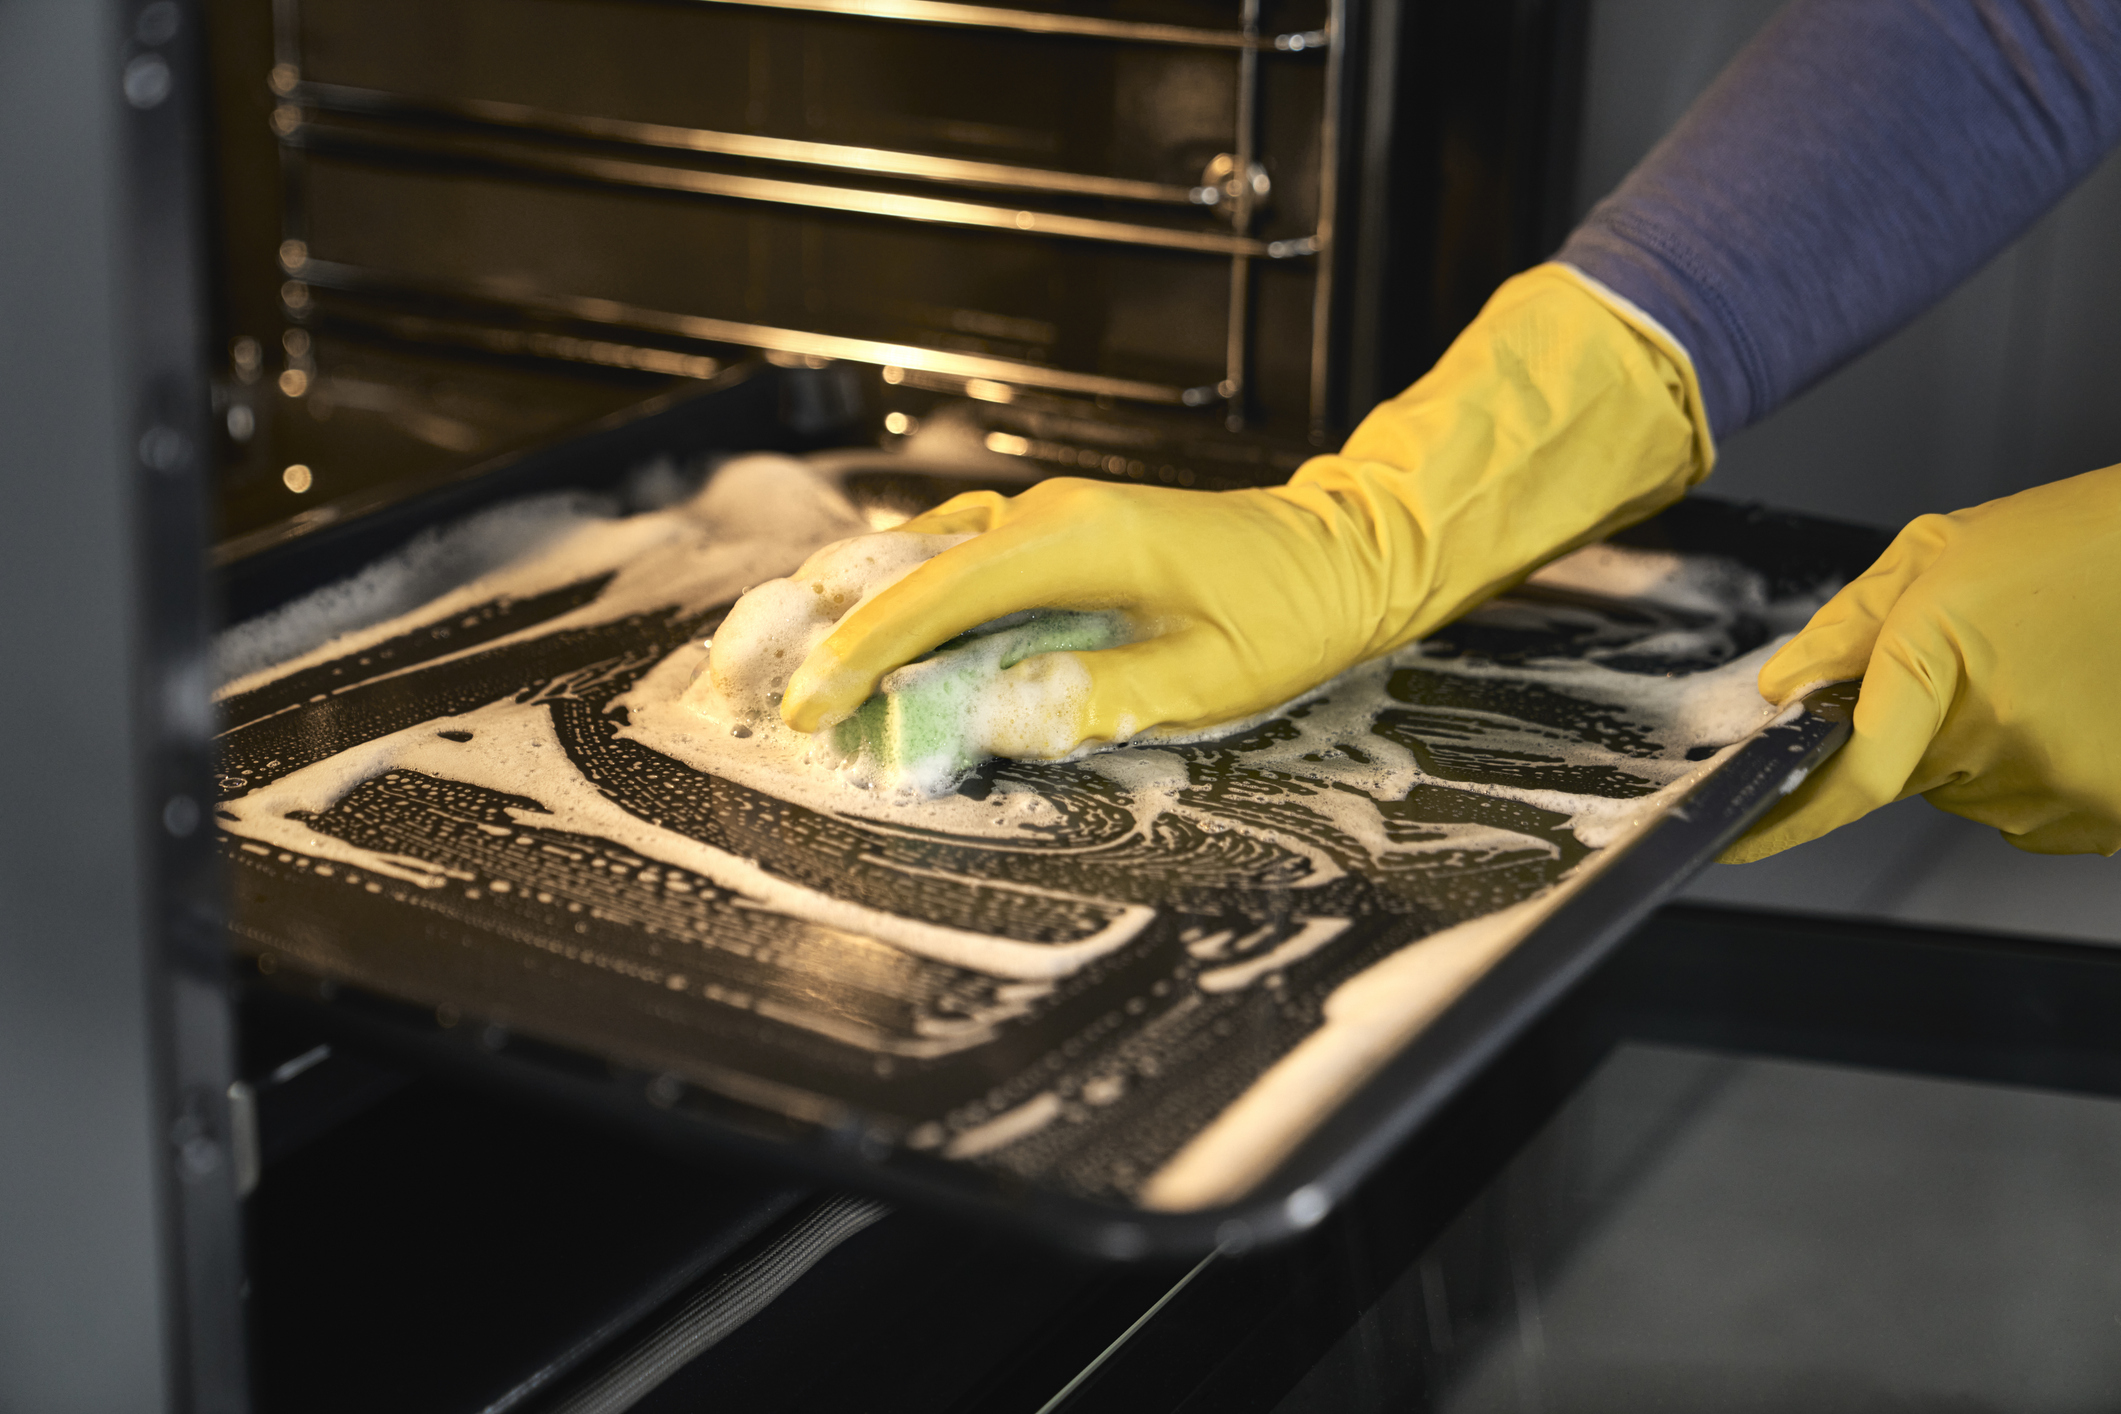
“Choose fume-free, all-natural low VOC (volatile organic compound) options, like white vinegar and baking soda for scrubbing grease and stains,” says Blazovsky. My suggestion: A paste made from baking soda and water works as a scrubbing agent for grease and stains. Combine about one-half cup of baking soda with a few tablespoons of water to create a paste-like or pancake batter-reminiscent mixture that you can spread easily on oven surfaces.
Put on rubber gloves, and use a rubber spatula to spread the baking soda-and-water mixture on the bottom and sides of the oven. Caution: It is best not to scrub the heating element at the top of the oven, but if you see major grease, you can spot-clean it with warm water and unscented dish soap. For minor grease on the heating element, the oven’s high setting mostly likely will burn it off.
3. Let the paste sit
Once the mixture is in place, let it sit for at least 12 hours or even overnight if there is a lot of grime.
4. Scrub and wipe down
After the 12 hours is up, use a damp dishcloth or sponge to wipe down the inside of the oven. Use your spatula to remove the paste from any tough-to-reach places in the corners or sides.
Then, using a spray bottle filled with white vinegar, spray any lingering residue. The vinegar will cause the baking soda to foam, making it easier to wipe up. Repeat this process until the oven is clean.
Many store-bought cleaners contain harmful ingredients, warns Balzovsky, but the plant-based cleaner Bar Keepers Friend is an effective oven cleaner. Sprinkle a small amount on stubborn spots and scrub with a sponge until clean.
Caution: Blazovsky does not recommend mixing cleaning products—it could trigger unintended chemical reactions. Use only one product at a time.
“Be careful not to disturb the delicate coatings on the inside of the oven with harsh practices. You want to prevent the breakdown of coatings that may contain hazardous substances, especially in older ovens, and end up in your food,” says Blazovsky. “Older ovens and even newer ones could potentially contain lead, cadmium, nickel or chromium and leach into your food if the protective barrier is compromised.”
5. Final rinse and dry
Once you’ve removed the remaining baking soda and any leftover food particles, grease and grime, wipe down the oven one more time with a damp washcloth. Dry with paper towels or a microfiber dishcloth.
How to Clean a Self-Cleaning Oven
- Understand the self-cleaning cycle. A self-cleaning oven can be convenient, but it comes with some risks. Frequent use can shorten the life span of the oven, so limit its use to when the oven truly needs a thorough cleaning. When you do use it, be sure to stay in the house because the oven reaches very high temperatures during the cleaning cycle. Be sure to open windows and doors…turn exhaust fans on…and move birds and other small pets outside or to another room to protect them from carbon monoxide.
- Preparation and safety tips. Remove all items from the oven, including cooking probes, foil, silicone mats or liners, cookware, pans and anything else you typically leave inside between uses. Also, remove the racks unless they specifically are identified in the owner’s manual as “no scrub” or “self-clean”
- Wipe out the interior. Before starting the self-cleaning cycle, use a wet cloth to wipe up any spillover, such as juices or liquid grease, that is not baked onto the bottom of the oven. Also remove as much soil as possible from the oven-door window. Caution: Don’t use any cleaning products when wiping down the oven, window or interior—they can degrade the interior.
Reminder: During the self-cleaning cycle, smoke may escape from the oven as the grime and burnt grease turns to ash. Be sure to keep windows open, and turn on exhaust fans to ventilate.
- Turn on the self-cleaning function. The full cycle can take roughly one to three hours, but this can vary based on the specific type of oven.
- Post-cycle cleanup. It takes about 30 to 90 minutes for the oven to cool down after a self-clean cycle. The lock or clean light may remain on while it’s finishing. After the self-cleaning cycle is done, you may see a white ash-like substance inside the oven. This is caused by the burnt-off food particles. Use a mixture of water and vinegar on a sponge or cloth to wipe it off.
How to Clean Oven Racks and Glass Door
You can use the same baking-soda-and-water mixture to clean the oven racks…
- Bring the racks to the bathroom. Lay down a shower curtain on the bottom of your tub.
- Apply the baking-soda-and-water paste to the racks with a rubber spatula. Place them in the tub.
- Let the racks sit for at least two hours, then wipe and rinse. Make sure they are free of any baking-soda residue, and fully dry them before returning them to the oven.
And for the oven door, you also can use the baking-soda-and-water mixture…
- Use the spatula to apply the paste to the glass, then let it sit for about 20 minutes. It may take longer to set, especially if there is a lot of grease and food residue.
- If you have tough-to-clean spots, blend one part vinegar with four parts water in a bowl. Soak a damp cloth in the mixture, and scrub the window with the baking-soda paste mixture.
- Wipe away the remaining baking-soda paste with a damp cloth, and then dry.
For the window on the outside of the door: Fill your spray bottle with the water-and-vinegar blend to spray on the glass. Wipe and then dry.
How to Remove Stubborn Stains and Odors
Your thorough oven-cleaning process should remove stubborn stains, but if there are any are lingering, sprinkle a little dry baking soda onto your sponge and scrub until they are gone.
To get rid of the smell of cleansers: Citrus fruits are a wonderful way to give your oven a fresh smell, says Blazovsky. Preheat the oven to about 450°F. In an oven-safe pot or pan, add two cups of water and sliced lemons. Turn off the oven and leave the pot in the oven for about 20 minutes. Check occasionally to make sure the water hasn’t evaporated—you don’t want to burn the lemons. Then turn off the oven and let the pot cool down.
Also leave your oven door open to air it out. Just giving it some fresh air can eliminate any lingering odors.