Calisthenics are a form of strength training that uses the exerciser’s own body weight as the primary fitness equipment. Think of it as a form of weight lifting where the exerciser serves as both the lifter and the weight—very little additional equipment and no gym membership are required. This fitness strategy doesn’t just build strength, it can improve mobility and stability, too. Some calisthenics exercises, such as pushups, pullups and squats, are extremely familiar to almost everyone. What’s much less well known is that there are subtle adjustments and variations of some of these familiar exercises that can make them appropriate and beneficial for people at any fitness level. Bottom Line Health asked calisthenics coach Matt Schifferle to recommend a calisthenics workout plan for people who are wondering how to start calisthenics…
Getting started
A basic calisthenics workout plan should include three components—a push exercise, a pull exercise and a squat/leg exercise. Together these three components can provide a surprisingly complete workout. The trio of exercises described below can do just that, but there are many other calisthenics options in each category if you’re looking for something different—search the term “calisthenics” and the name of the category, such as “push exercises,” on Google or YouTube to find alternatives, or read a book about calisthenics.
Whichever calisthenics exercises you select, start with a version of that exercise that’s appropriate for your current fitness level, not the fitness level that you aspire to have or the fitness level that you had years ago when you last exercised regularly. Choosing inappropriately difficult exercises at the outset will impede your progress, not accelerate it. With many calisthenics, the starting-point version of the exercise is a lot like the more-familiar version, only with some body weight subtly shifted away from one body part and onto another.
Workout plan
Here is a three-exercise calisthenics workout plan.
The push exercise
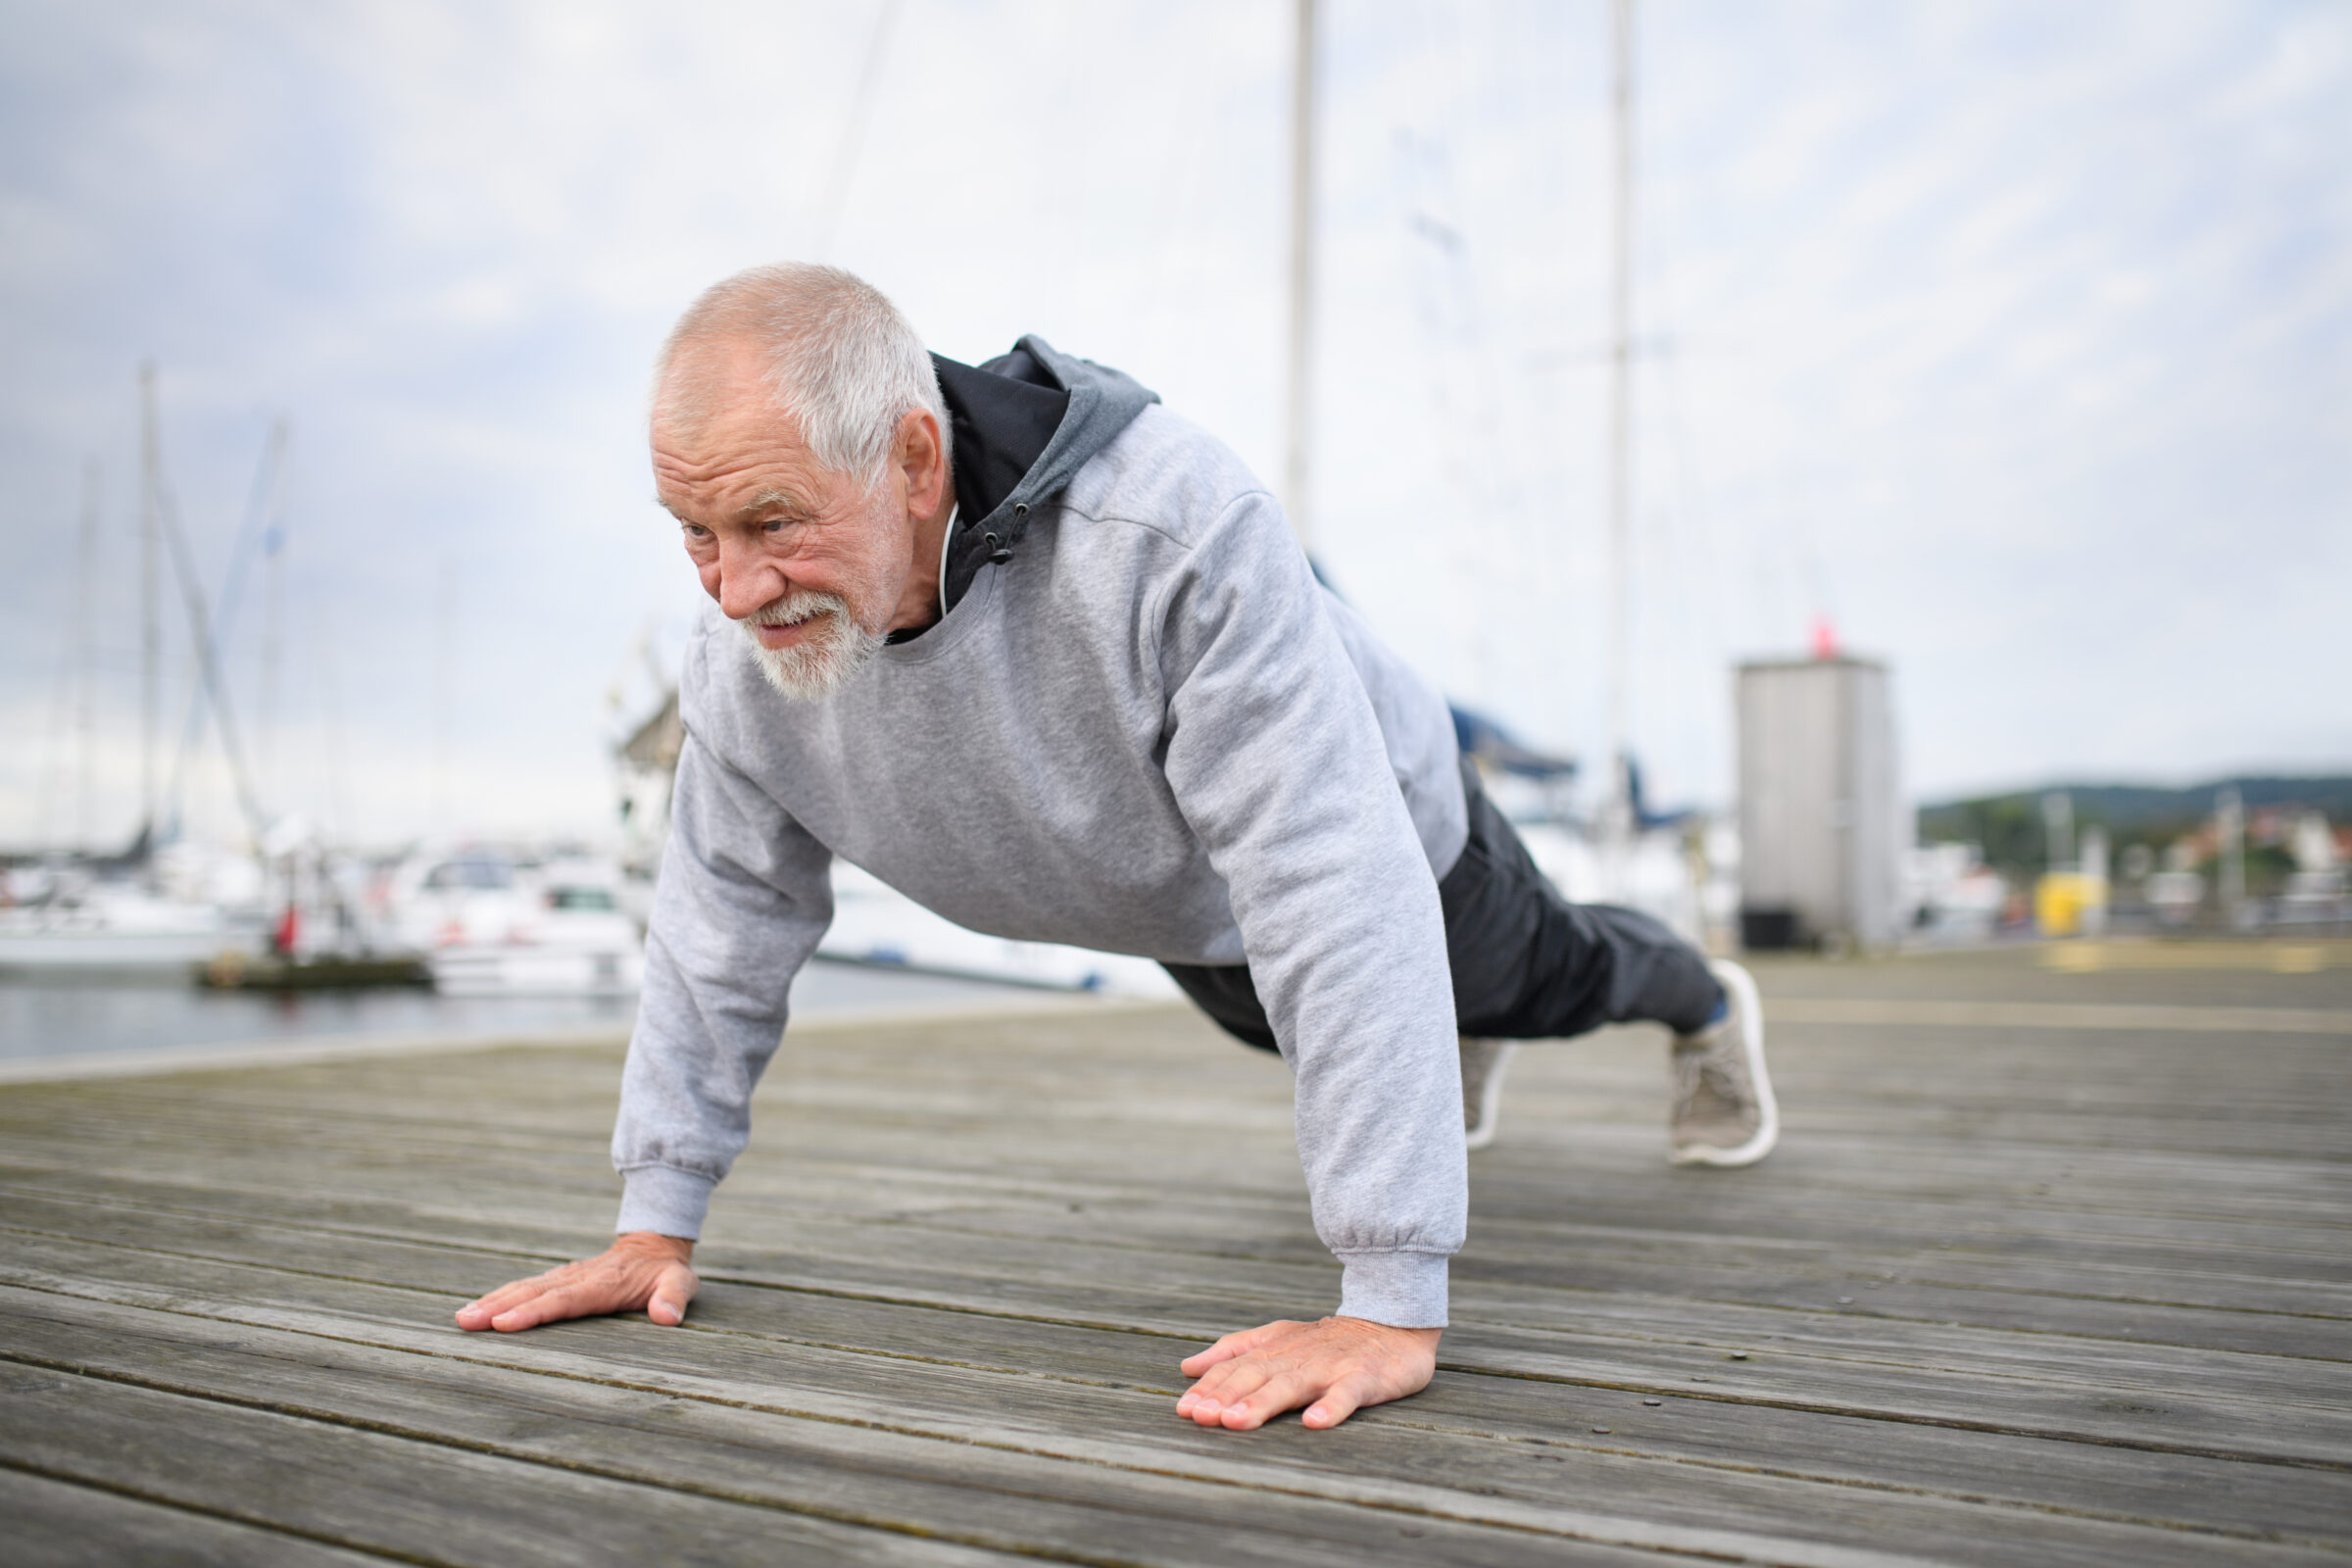
Pushups are great for the triceps, chest and shoulders. They’re an excellent selection for push-component of a calisthenics workout plan even if you can’t currently complete a single conventional pushup—there are variations of the pushup that are within virtually anyone’s abilities. To decrease the difficulty level of pushups, simply increase the angle of your body. Rather than do pushups with your hands on the floor, position your hands on the edge of a kitchen counter—your toes and the balls of your feet remain on the floor as normal. This increased body angle puts more of your bodyweight on your feet and less on your arms, meaning much less strength is required per pushup. Helpful: Virtually everyone more-or-less knows how to perform a pushup, but small adjustments in form can increase their effectiveness. Position your hands relatively close together when doing pushups, whether you’re doing conventional pushups or pushups with increased body angle—your chest should touch the backs of your hands at each pushup’s low point. Keep your elbows tucked in close to your sides throughout your pushups.
When you can complete countertop pushups with ease, progress to performing pushups with your hands positioned on something lower, such as a chair or couch—make sure whatever you choose is extremely stable. Continue slowly decreasing your pushup body angle whenever the exercise becomes easy until you’re doing standard hands-on-the-floor pushups. If those, too, become easy, incrementally increase the share of your body weight that you’re lifting with one arm by sliding the other arm a couple inches farther out from the centerline of your body while doing pushups. Then switch and do the same with the other arm.
The pull exercise
Bodyweight rows tend to be a better beginner “pull” exercise than the more-familiar pullups. Unlike many calisthenics exercises, bodyweight rows do require equipment, but the “suspension straps” needed aren’t expensive and won’t take up much space in the home.
To do bodyweight rows, attach suspension straps to a sturdy overhead hook, beam or other elevated anchor point. The handles at the ends of these straps should hang to approximately waist height. Grasp these handles in your hands and lean back until your arms are extended, your hips and back straight, your knees bent and your feet flat on the floor. Much of your body weight will be supported by the straps, so it’s vital that those straps are properly anchored. Pull your chest up towards the straps with your back and hips remaining straight, then ease yourself back to the arms-extended position to complete one rep. Bodyweight rows exercise many of the same muscles as conventional pullups, including the trapezius, latissimus dorsi, and biceps, but they’re much more adaptable to a beginning exerciser’s current fitness level. To make bodyweight rows easier, simply start with a more-upright body angle—that is, rather than perform the exercise with the suspension straps hanging virtually straight down and your back starting largely parallel to the floor, back up a bit so the straps are hanging at an angle and your shoulders are higher than your knees. The more upright your starting position, the more of your weight will be on your feet and the less upper body strength will be required to perform each rep. Slowly decrease your starting body angle as your fitness level improves. Your starting position might eventually become sufficiently low that your knees are straight and only the backs of your heels rest on the floor, not the soles of your feet. If this, too, becomes easy, there are several options for further increasing the difficulty level of bodyweight rows. You could position the back of your heels on something stable and above floor level when doing the exercise…or you could do single-arm bodyweight rows with each arm…or you could do “archer rows”—with these, one arm completes the normal bodyweight row motion while the other arm reaches out to the side. Search “archer rows” on YouTube to see this demonstrated.
The squat/leg exercise
Bodyweight squats provide wonderful lower body conditioning—they not only exercise the quads, glutes, hip flexors, and numerous muscles in the lower back, they’re also beneficial for balance and mobility. To do squats, stand with your feet roughly shoulder width apart and bend at the hips and knees to lower your backside as if preparing to sit down in a chair, positioning your arms in front of your body as needed for balance. Keep your chest largely upright throughout, your shoulders back, and don’t let your knees get forward of your toes. Lower yourself at least until your thighs are parallel with the ground, and if possible, even farther. Then slowly raise back up to a standing position to complete one rep. If you struggle to do squats either because of balance issues or limited leg strength, start by doing “assisted” squats—position yourself near something stable while performing this exercise, such as a door frame, railing or kitchen counter. Grip this with your hands while doing squats, using your arm strength for added lifting power as needed. Once assisted squats become easy, progress to “box” squats—with these, you don’t have any arm assistance, but you do position a sturdy bench or box where your backside will contact it at the lowest point of each squat so you don’t have to worry about lowering yourself too far.
Switch to performing squats without any arm assistance or elevated surface behind you when you can do so safely. When these squats become easy, progress to “deep squats” where the hips are lowered well below knee level—ideally so far down that the backside comes very close to the backs of the heels. If those, too, become easy for you, the next step is “split squats”—one leg performs the squat while the other is leg positioned behind the body with its toes and ball of the foot on the ground. Repeat this with both legs. After that comes “Bulgarian split squats,” which are like conventional split squats, except the back leg is elevated—the toes or the top of that back foot rest on a bench or box of approximately knee height.